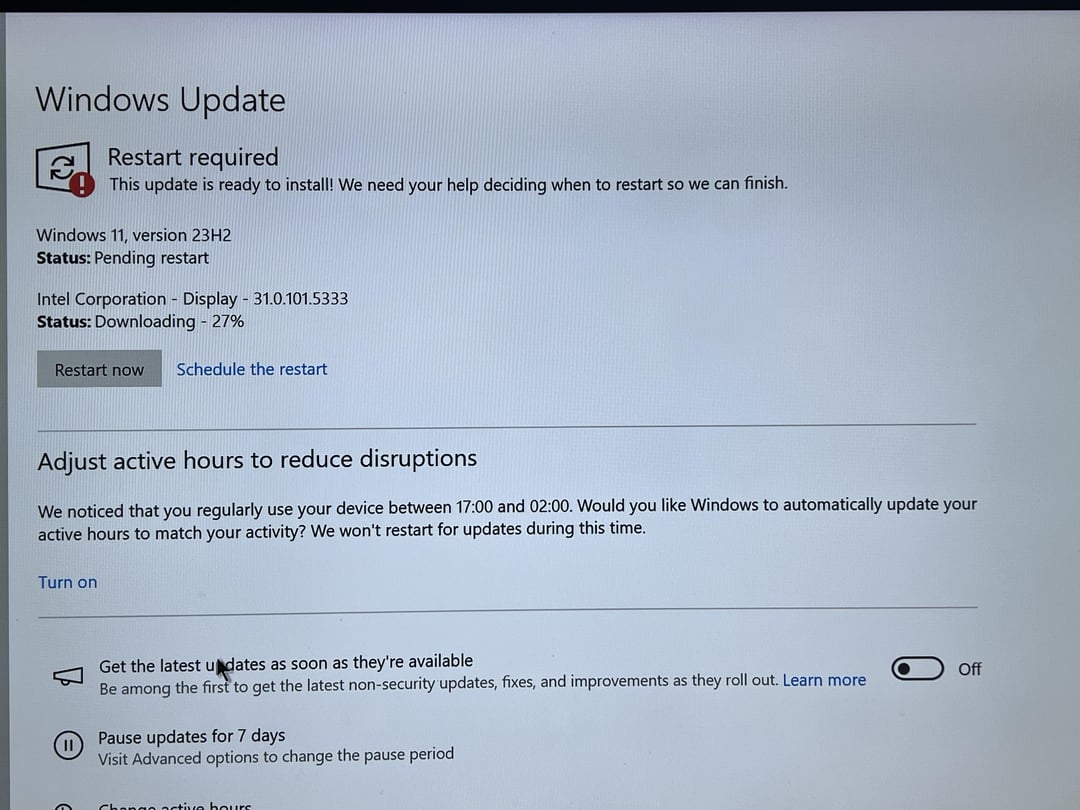
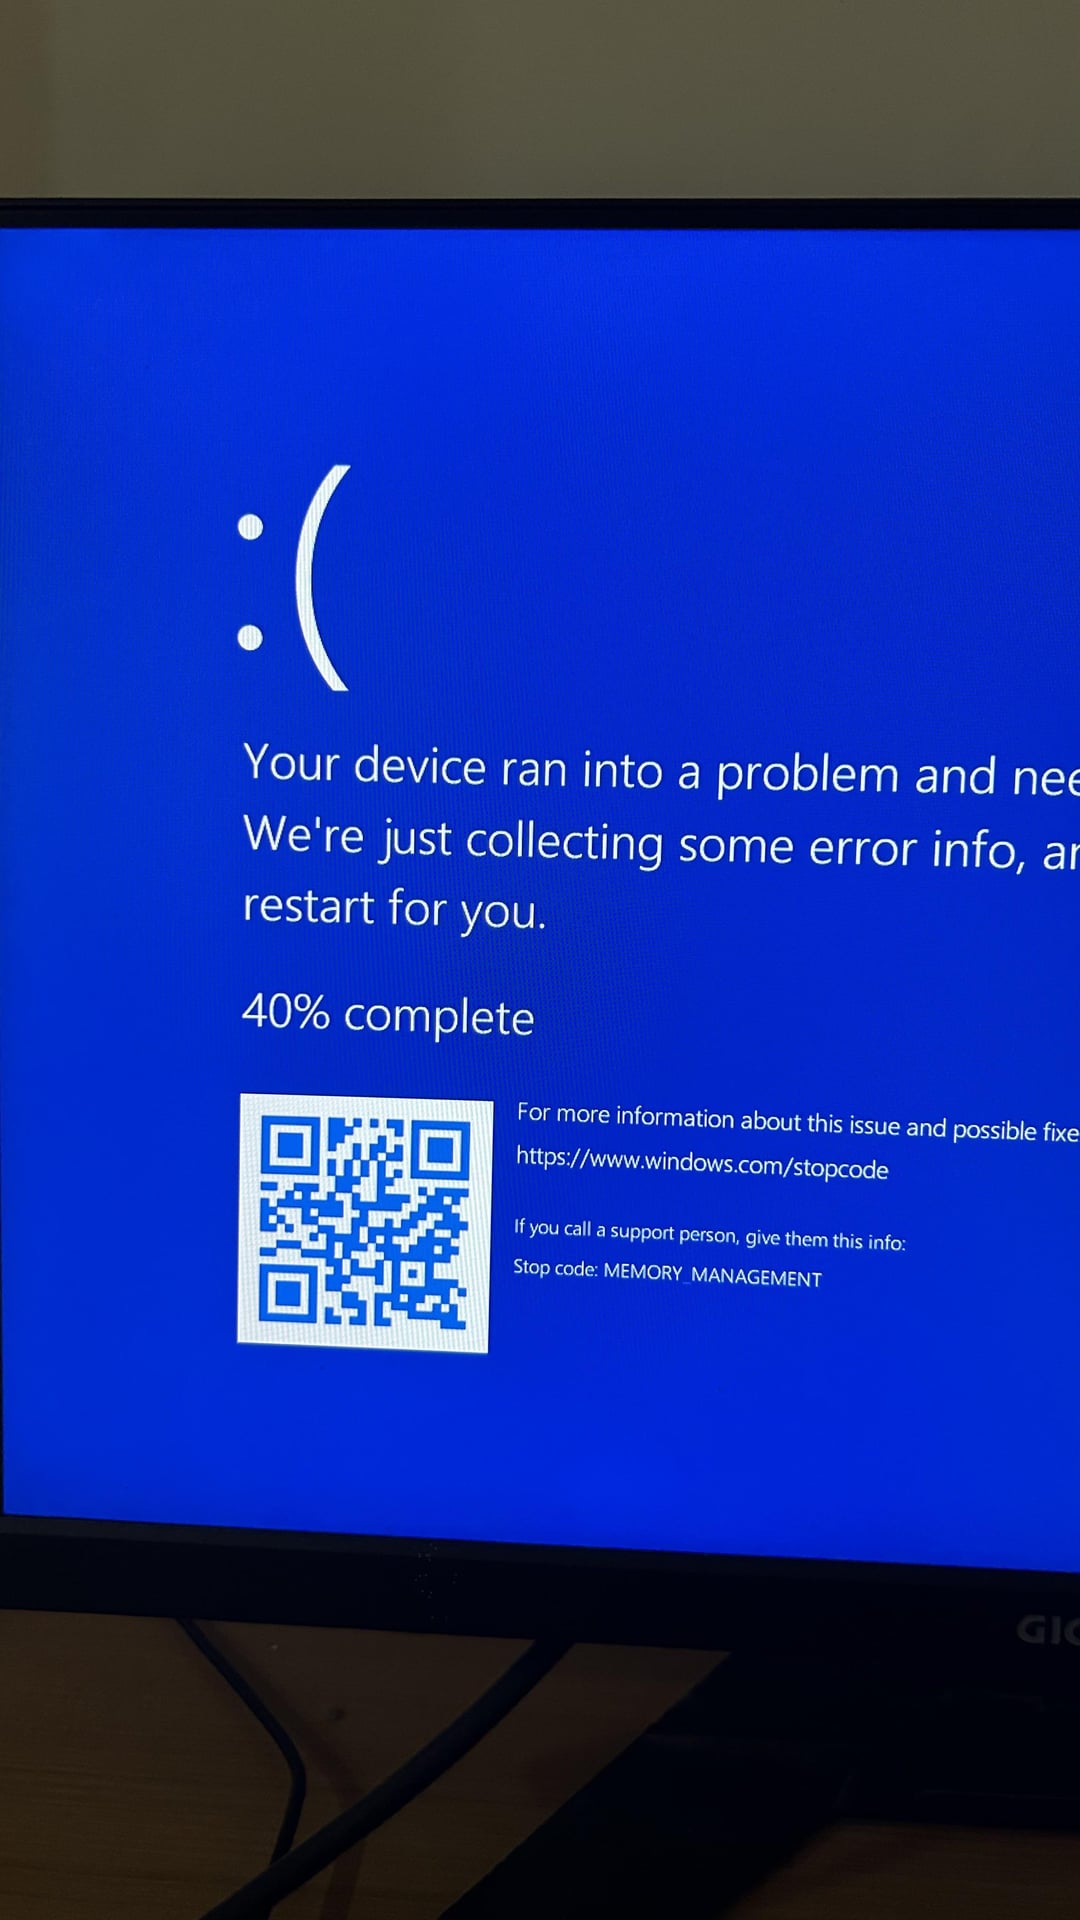
Is your Windows 10 system stubbornly refusing to install the KB503441 update? This update has been causing installation problems for many users.
Why Skip the Update? Not a Wise Choice
While skipping an update might seem tempting, security updates like KB503441 are vital for shielding your system from malicious software and online threats. These updates patch vulnerabilities that hackers can exploit to gain access to your computer and steal your data. So, installing security updates is crucial for maintaining a healthy and secure system.
Here’s How to Fix the KB503441 Update Failure
This fix involves replacing a couple of system files. It might sound technical, but follow these steps closely, and you’ll be back on track in no time!
Before You Begin: Back Up Your Data (Just in Case!)
While unexpected issues are rare, creating a backup of your important files is always a good practice before making system changes. You can use the built-in Windows backup tool or free third-party software like Macrium Reflect.
Steps to Fix the Update Failure:
- Check Windows RE: Open Command Prompt as administrator (search for “Command Prompt” and right-click “Run as administrator”). Then, type
reagentc /infoand press Enter. This command tells you if Windows Recovery Environment (RE) is enabled. - Disable Windows RE (if enabled): If the output says “Enabled,” type
reagentc /disableand press Enter to turn it off temporarily. - Download the Media Creation Tool: Head over to the Microsoft website and download the Media Creation Tool that matches your system (32-bit or 64-bit).
- Create Installation Media: Run the downloaded tool and choose “Create installation media for another PC.” Follow the on-screen instructions to create an installation ISO file. Save it somewhere on your C drive (e.g., C:\ISO).
- Mount the ISO File: Double-click the ISO file to mount it. File Explorer will assign a drive letter to it (e.g., E:).
- Identify Image Index: Open Command Prompt again and type the following command, replacing
[Drive Letter]with the actual letter assigned to your mounted ISO file:
DISM.exe /Get-ImageInfo /ImageFile:[Drive Letter]:\sources\install.esd /Index:1
This will display details about the system image.
- Extract System Image: In Command Prompt, type this command (again, replace
[Drive Letter]):
DISM.exe /Export-Image /SourceImageFile:[Drive Letter]:\sources\install.esd /SourceIndex:1 /DestinationImageFile:C:\install.wim /Compress:fast /CheckIntegrity
This extracts the system image file.
- Create Mount Directory: Type
MD C:\MountDirto create a new folder. - Mount the Extracted Image: Type this command:
DISM.exe /Mount-Wim /WimFile:C:\install.wim /index:1 /MountDir:C:\MountDir /ReadOnly
This mounts the extracted image.
- Copy System Files: Navigate to
C:\MountDir\Windows\System32\Recoveryin File Explorer. Copy the filesReAgent.xmlandWinre.wim. Paste them into a safe location for backup (e.g., your Documents folder). - Unmount the Image: In Command Prompt, type:
DISM.exe /Unmount-Wim /MountDir:C:\MountDir /discard
This unmounts the image.
- Clean Up: Delete the folders
C:\MountDirandC:\ISO(unmount the ISO file first if it’s still mounted) along with the fileC:\install.wim. - Replace System Files: Copy the backed-up
ReAgent.xmlandWinre.wimfiles back toC:\Windows\System32\Recovery. If any files exist already, replace them. - Enable Windows RE (if disabled): If you disabled RE in step 2, type
reagentc /enableto re-enable it. - Run Windows Update: Now, try running Windows Update again. The KB503441 update should install successfully!
!! NEW: Free Games & Discounts: Epic Games & Steam Tracker →


